How to Write a Business Check for Secure Transactions
What is a Business Check?
A business check is a pre-printed payment document drawn against funds held in a company's bank account designated for business-related transactions. As a small business owner, making timely and secure payments is crucial for maintaining a positive credit history and avoiding financial pitfalls. Writing a business check can be a simple yet effective approach to keeping your financial records organized.The Importance of Writing a Business Check Correctly
Writing a check for business purposes requires attention to detail to avoid errors and ensure secure transactions. A single mistake can delay or even prevent payment, causing inconvenience to both parties. Understanding the key components of a business check and learning how to write one correctly is essential for making timely and secure payments.Step 1: Gather Required Information
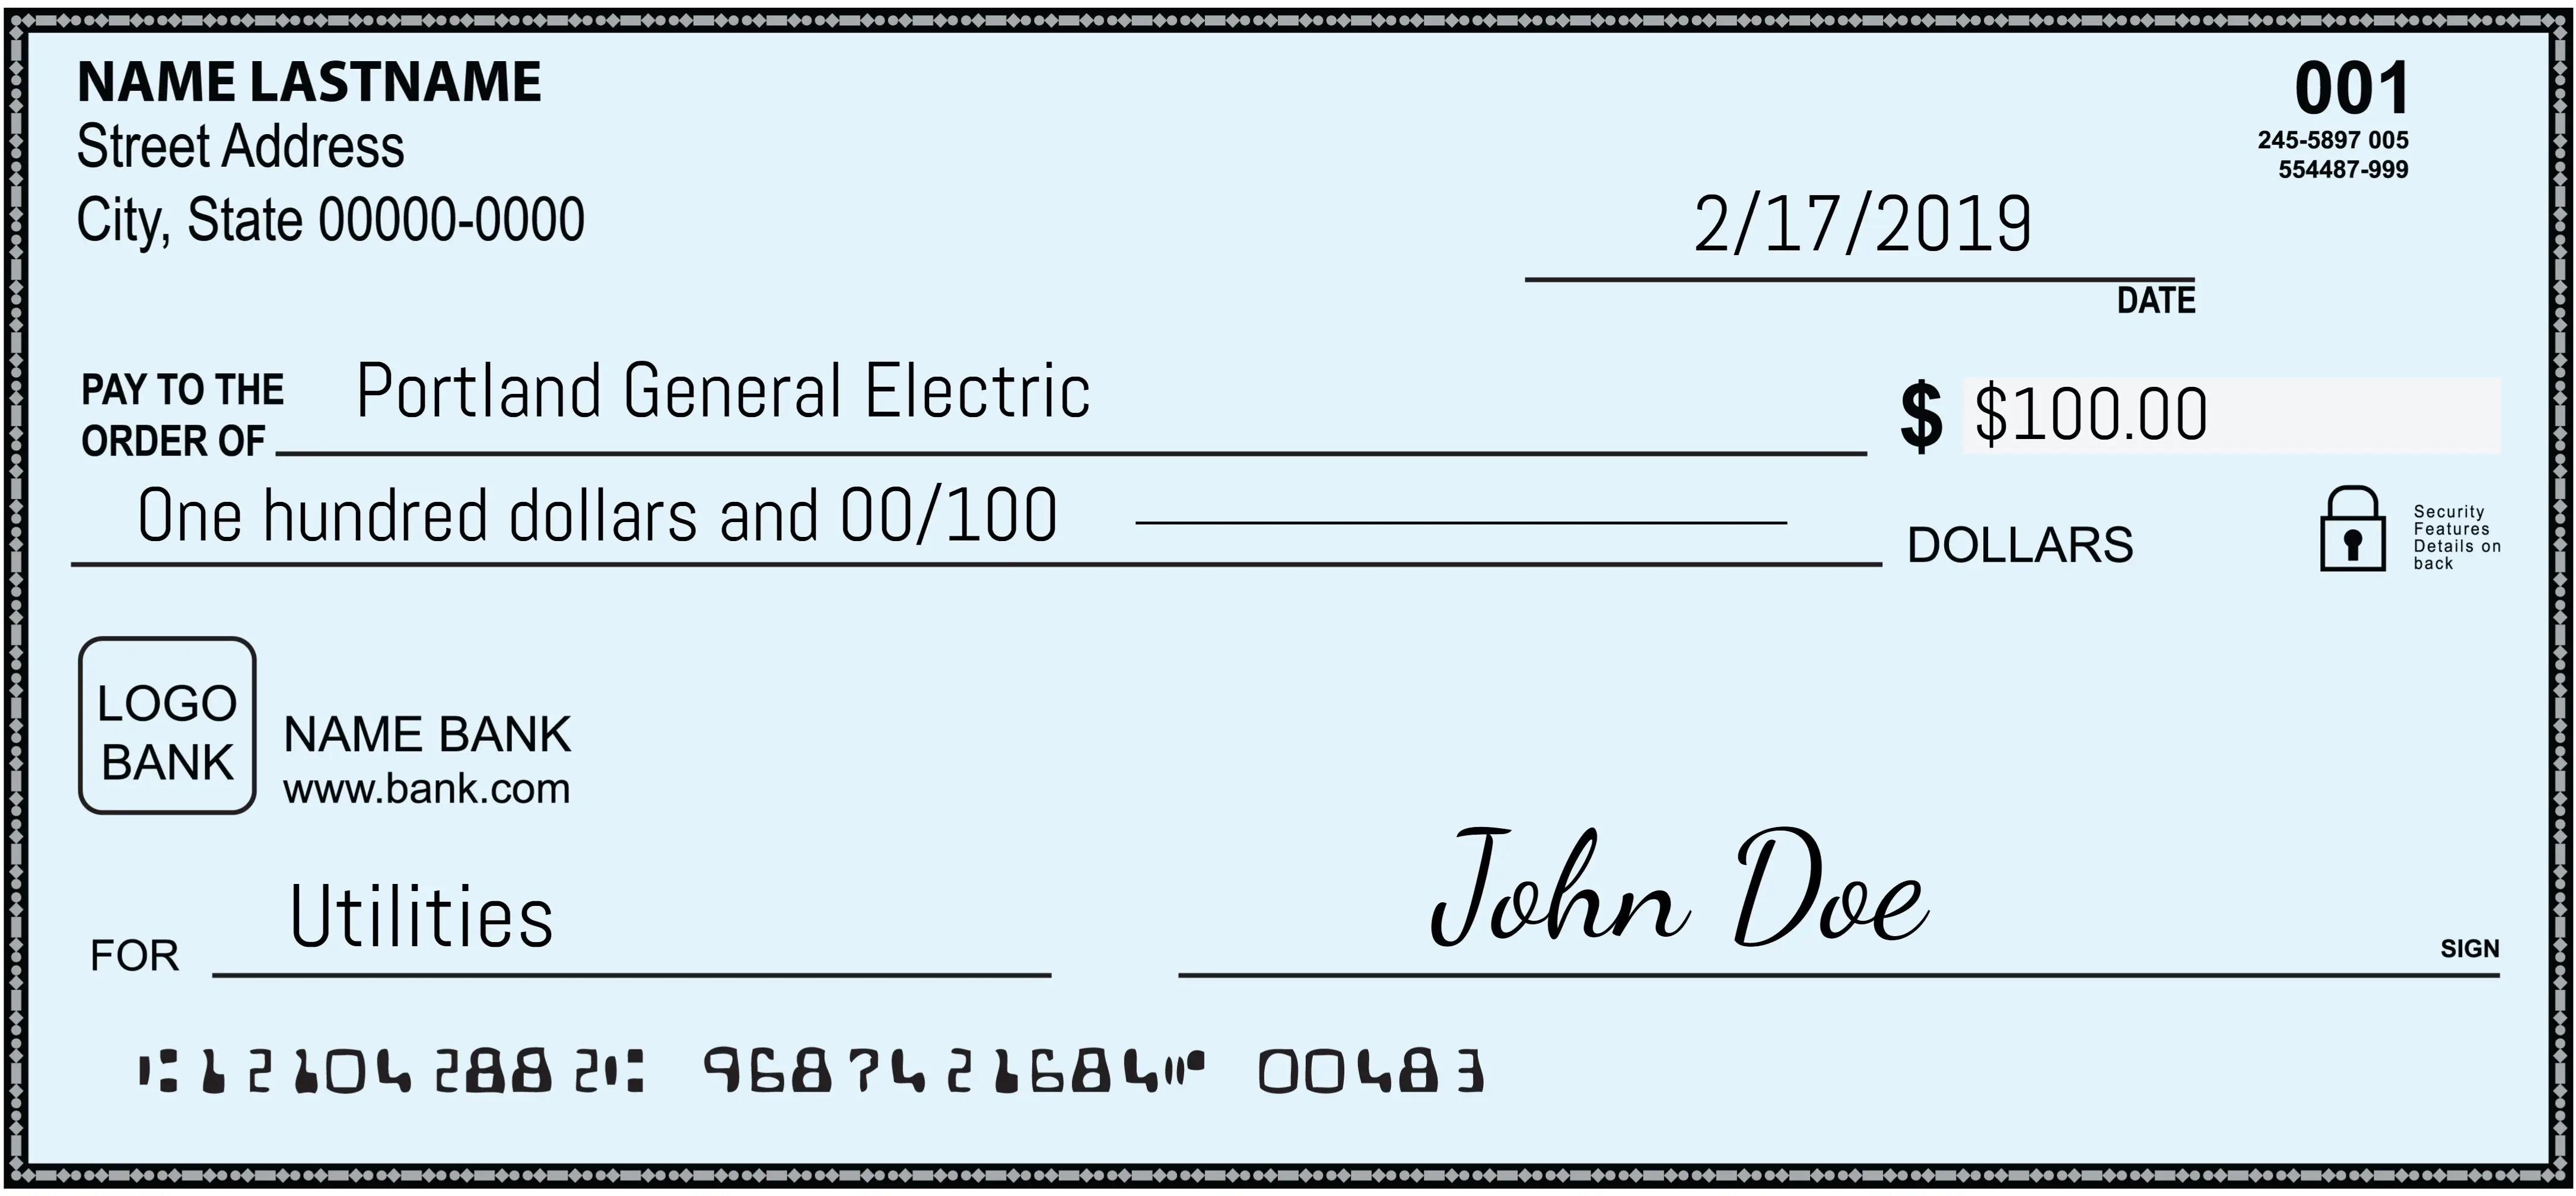
As we can see from the illustration, How To Write A Check For Business Purposes has many fascinating aspects to explore.
Before writing a business check, gather all the necessary information. You will need the payee's name and address, the amount to be paid, and the purpose of the payment. This information is crucial for completing the check accurately and securely.Step 2: Complete the Check Header
The check header contains the date, the check number, and the payee's name. Write the date in the top right corner of the check, followed by the check number and the payee's name. The check details section includes the payee's address, the amount, and the dollar sign ($). Write the payee's address below the check header, followed by the amount of the payment. Ensure that the amount is spelled out in words and is consistent with the numerical amount.Check Register
The check register serves as a component of the company's financial records, helping to track the running balance of the business account. Keep a record of all checks written, including the date, check number, payee's name, amount, and purpose of the payment.Step 4: Sign the Check


![View of How to Write a Business Check [Quick & Simple Guide]](https://learnfinancialstrategy.com/wp-content/uploads/2022/08/Check-memo.jpg "How to Write a Business Check [Quick & Simple Guide]")
 - Atlassian")

")


")

