Installing a Ceiling Fan on a Cleo French Door: A Comprehensive Guide
Celebrating a unique architectural style, the Cleo French door offers a refreshing blend of modern and traditional elements. One of the most effective ways to enhance the aesthetic appeal and functionality of this door is by installing a ceiling fan. A ceiling fan can not only provide a touch of elegance but also improve air circulation and reduce energy bills. In this article, we'll delve into the world of ceiling fan installation and provide a step-by-step guide on how to install a ceiling fan on a Cleo French door.
Why Install a Ceiling Fan on a Cleo French Door?
A ceiling fan can add a touch of sophistication and modernity to your Cleo French door, elevating the overall aesthetic appeal of your home.
Installing a ceiling fan can improve air circulation, making your home feel cooler and more comfortable, especially during the summer months.
A ceiling fan can also help reduce energy bills by providing a cost-effective alternative to air conditioning.
Choosing the Right Ceiling Fan
Before installing a ceiling fan, it's essential to choose the right model that suits your Cleo French door's unique design and your home's specific needs. Consider the following factors:
Size: Ensure the ceiling fan is proportional to the size of your Cleo French door and the room it's installed in.
Style: Select a ceiling fan that complements the architectural style of your Cleo French door and the overall design of your home.
Features: Consider the features you need, such as adjustable speed, remote control, or LED lighting.

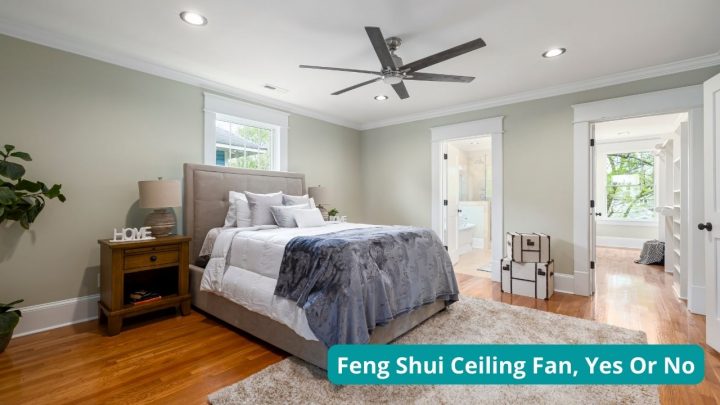
As we can see from the illustration, Ceiling Fan Installation Cleo French Door has many fascinating aspects to explore.
Tools and Materials Needed
Step 1: Turn Off the Power
Step 2: Remove the Old Light Fixture (If Applicable)
If you're replacing an existing light fixture, remove the old fixture and any surrounding trim or molding.
Step 3: Install the Mounting Bracket
Locate the mounting bracket provided with the ceiling fan and attach it to the ceiling joist using screws. Ensure the bracket is level and securely attached.
Such details provide a deeper understanding and appreciation for Ceiling Fan Installation Cleo French Door.
Step 5: Connect the Electrical Wiring
Connect the electrical wiring to the ceiling fan according to the manufacturer's instructions. Ensure all connections are secure and meet local electrical codes.
Step 6: Hang the Ceiling Fan
Lift the ceiling fan up to the mounting bracket and secure it in place using screws. Ensure the fan is level and plumb.
Step 7: Balance the Ceiling Fan
Step 8: Turn On the Power and Test the Ceiling Fan

Switch on the power and test the ceiling fan to ensure it's working properly and safely.
Installing a ceiling fan on a Cleo French door can be a rewarding DIY project that enhances the aesthetic appeal and functionality of your home. By following the step-by-step guide outlined above, you'll be able to install a ceiling fan that provides a touch of elegance, improves air circulation, and reduces energy bills. Remember to always follow local electrical codes and consult a professional electrician if you're unsure about any aspect of the installation.
Frequently Asked Questions
Q: Can I install a ceiling fan on a slanted ceiling?
A: Yes, you can install a ceiling fan on a slanted ceiling, but you may need to use a specialized mounting bracket or adapter to ensure the fan is securely attached and level.
Q: How do I choose the right size ceiling fan?
A: Choose a ceiling fan that is proportional to the size of your Cleo French door and the room it's installed in. A general rule of thumb is to select a fan that has a diameter of 42-52 inches for small to medium-sized rooms and 52-60 inches for larger rooms.


/broken-fan-pull-chain-switch-4775179-hero-31f04775f34f41678f94d62e4bbfab77.jpg?strip=all "How to Install a Ceiling Fan | Lighting and Ceiling Fans | The Home ...")


 | Family Handyman")


