G Router Domain Name Server (DNS) Setup
When you type a Web address into a browser, your router silently sends the website to a Domain Name System (DNS) server. The DNS server looks up the IP address and sends it back. Since a lookup must be performed every time you access a Web page, the speed of DNS lookups affect the speed of your Internet access. Instead of using the DNS servers from your Internet Service Provider, you can set up the DNS settings on your router to use a third-party DNS server such as Google Public DNS or OpenDNS.
Why Change Your DNS Server?
How to Set Up Google Public DNS on Your Router
Here's a step-by-step guide on how to set up Google Public DNS on your router:
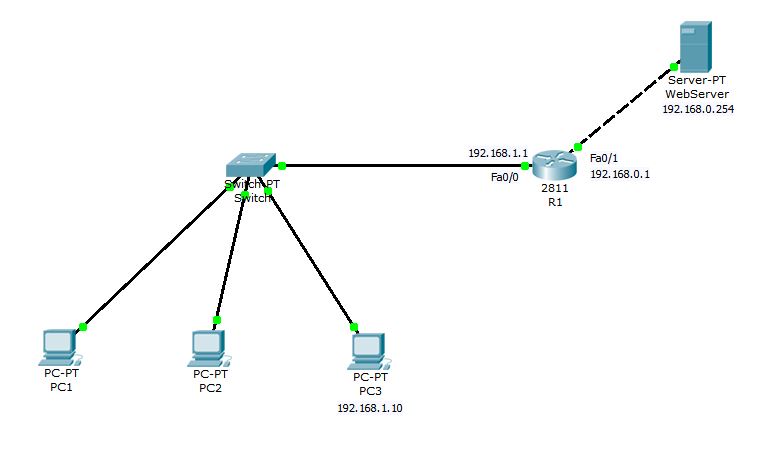
As we can see from the illustration, G Router Domain Name Server (Dns) Setup has many fascinating aspects to explore.
- Log into your router's administrative interface.
- Look for the DNS settings or NGC settings section.
- Change the primary and secondary DNS server addresses to 8.8.8.8 and 8.8.4.4, which are the IP addresses of Google's Public DNS servers.
- Save the changes and restart your router.
Benefits of Changing Your DNS Server
Changing your DNS server can have several benefits, including:
- Improved DNS resolution speed
- Reduced latency
- Improved website loading times
- Enhanced online security
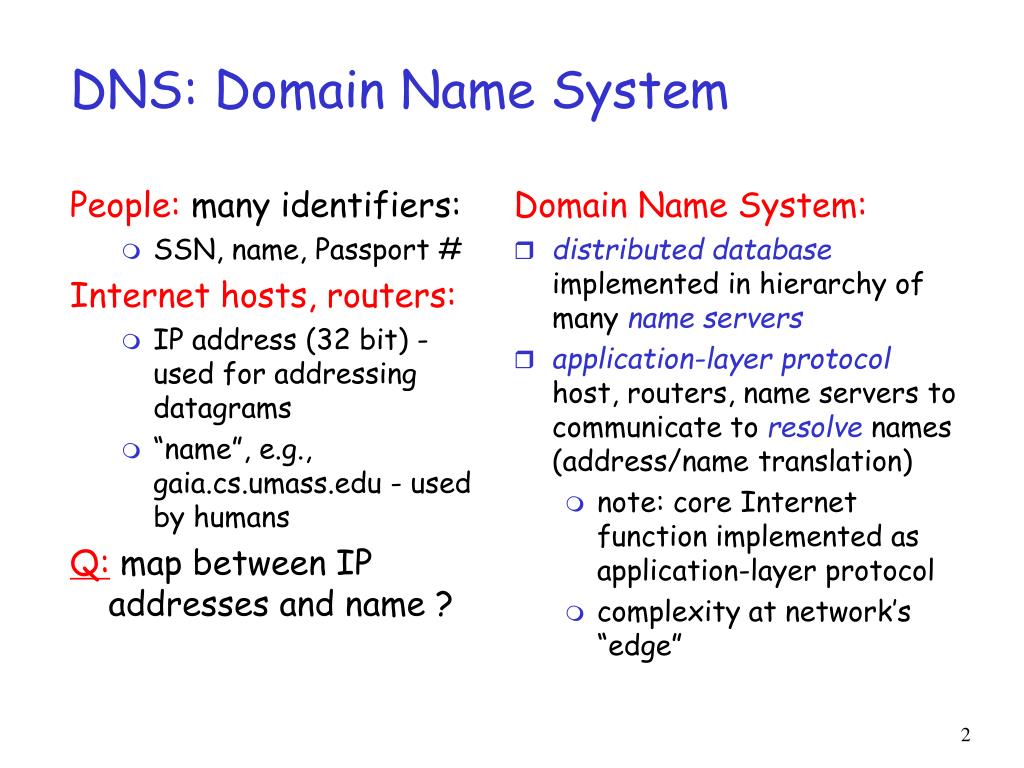
How DNS Works
Choosing the Right DNS Server
There are several DNS servers available, including Google Public DNS, Cloudflare DNS, and OpenDNS. Here are some factors to consider when choosing a DNS server:
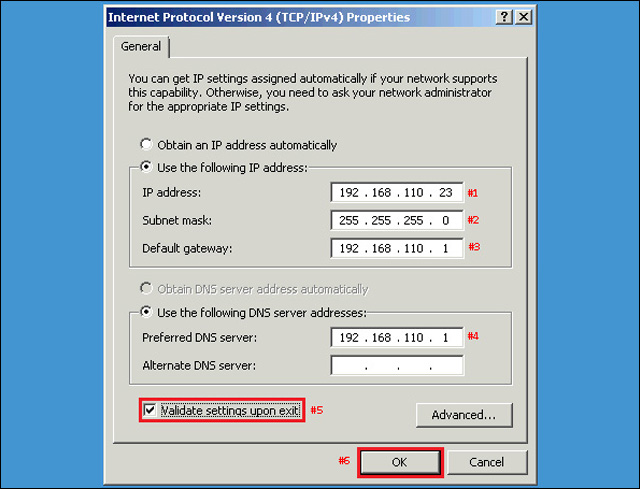
This particular example perfectly highlights why G Router Domain Name Server (Dns) Setup is so captivating.
Common DNS Issues
Conclusion
Changing your DNS server to Google Public DNS, Cloudflare DNS, or OpenDNS can improve DNS resolution speed, reduce latency, and enhance online security. When choosing a DNS server, consider factors such as speed, security, reliability, and flexibility. By following the steps outlined above, you can set up a custom DNS server on your router and enjoy a better online experience.
![View of [OpenWrt Wiki] AdGuard Home](http://www.firewall.cx/images/stories/cisco/tk-cisco-routers-dns-2.png "[OpenWrt Wiki] AdGuard Home")


![Image showcasing Install Tailscale VPN on Rocky Linux / AlmaLinux [Guide]](https://www.inetdaemon.com/img/dns-hierarchy.gif "Install Tailscale VPN on Rocky Linux / AlmaLinux [Guide]")


