Voicemail Setup Tutorial: A Comprehensive Guide
Voicemail is an essential feature that allows callers to leave voice messages when you're unavailable to answer their calls. Setting up voicemail on your wireless phone, iPhone, or Android device is a straightforward process. However, understanding the basics of voicemail and visual voicemail is crucial before diving into the setup process. In this article, we'll provide a step-by-step voicemail setup tutorial for various devices, including iPhones and Android phones.
Understanding Voicemail Basics
Voicemail is an electronic system that allows callers to leave voice messages when you're unavailable to answer their calls. These messages are stored on a remote server, allowing you to access them at a later time. Voicemail systems typically require a password, which you'll need to create during the setup process. This password will be used to access your voicemail messages.
Setting Up Voicemail on Wireless Phones
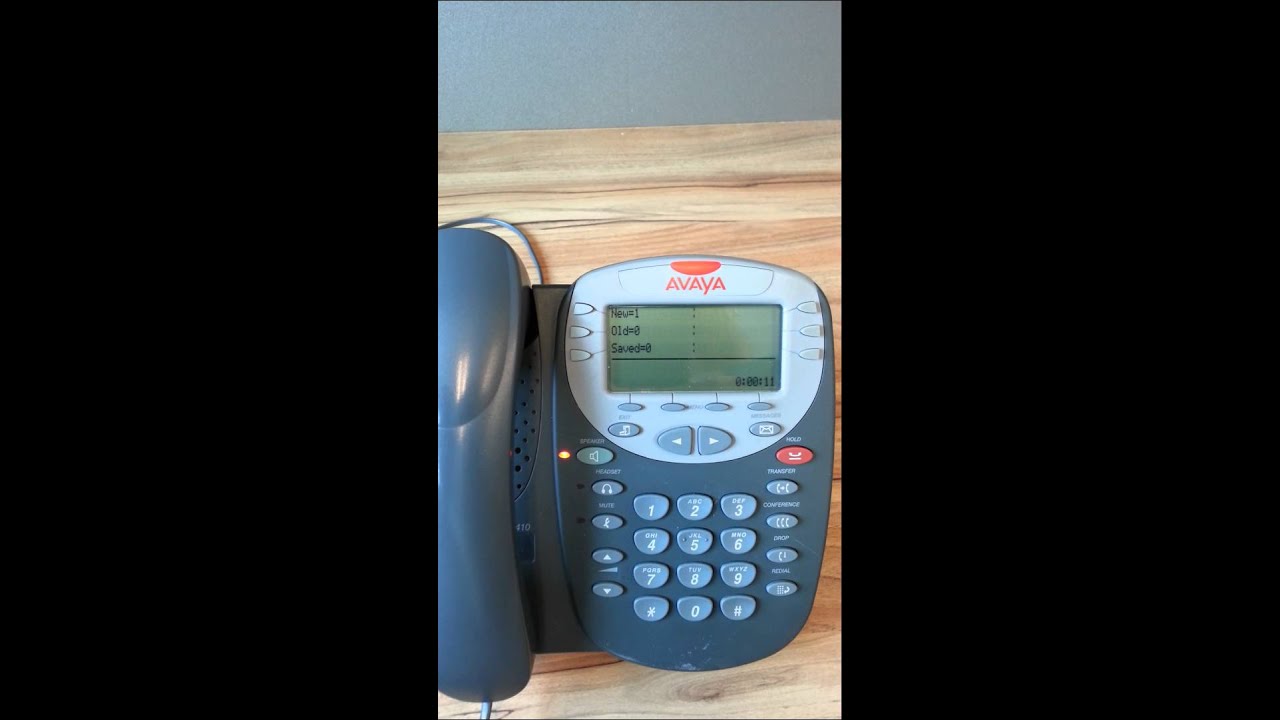
If you're using a wireless phone on an AT&T Wireless or AT&T Prepaid voice plan or AT&T Wireless Home Phone, you can follow these steps to set up basic voicemail:
- Find a quiet spot to set up your voicemail.
- Press and hold 1 on the dial pad.
- Select your language preference.
- Create a 7- to 15-digit password.
- Follow the prompts to complete the setup process.
Setting up voicemail on an iPhone is a simple process that takes place in the Phone app:
- Open the Phone app.
- Tap on "Voicemail" and then select "Setup Now."
- Enter a voicemail password and select whether you'd like to use the default recording or create a custom one.
- Follow the prompts to complete the setup process.

This particular example perfectly highlights why Voicemail Setup Tutorial is so captivating.
Setting Up Voicemail on Android Phones
Setting up voicemail on an Android phone is also a straightforward process:
- Open the Phone app.
- Tap on the "More" menu and select "Settings."
- Scroll down to the "Voicemail" section and select "Configure Voicemail."
- Enter a voicemail password and select whether you'd like to use the default recording or create a custom one.
- Follow the prompts to complete the setup process.
Additional Tips and Tricks
When setting up voicemail on your wireless phone, iPhone, or Android device, keep the following tips in mind:
- Choose a strong password that's easy to remember but hard to guess.
- Customize your voicemail greeting to include your name and contact information.
- Check your voicemail regularly to avoid missing important messages.
- Consider setting up Visual Voicemail to manage your voicemail messages more efficiently.
Conclusion
Setting up voicemail on your wireless phone, iPhone, or Android device is a simple process that requires a few basic steps. By understanding the basics of voicemail and visual voicemail, you'll be able to set up a functional voicemail system that helps you stay connected with your callers. Remember to choose a strong password, customize your voicemail greeting, and check your voicemail regularly to get the most out of this feature.
This particular example perfectly highlights why Voicemail Setup Tutorial is so captivating.
FAQs
Q: What is the purpose of voicemail?
A: The purpose of voicemail is to allow callers to leave voice messages when you're unavailable to answer their calls.
A: To set up voicemail on your wireless phone, press and hold 1 on the dial pad, select your language preference, create a 7- to 15-digit password, and follow the prompts to complete the setup process.
A: To set up voicemail on your iPhone, open the Phone app, tap on "Voicemail" and then select "Setup Now," enter a voicemail password, and select whether you'd like to use the default recording or create a custom one.
Q: How do I set up voicemail on my Android phone?
A: To set up voicemail on your Android phone, open the Phone app, tap on the "More" menu and select "Settings," scroll down to the "Voicemail" section, select "Configure Voicemail," enter a voicemail password, and select whether you'd like to use the default recording or create a custom one.


")

 - Set Up Voicemail - AT&T")

 - Set Up Voicemail - AT&T")


")
 - Set Up Voicemail - AT&T")

 - Set Up Voicemail - AT&T")

 - Set Up Voicemail ...")


")


 - Set Up Voicemail - AT&T")

")