Writing a Check to Pay Yourself: A Comprehensive Guide
Are you wondering how to write a check to pay yourself? While digital payment methods have become increasingly popular, writing a check to your own account is still a useful skill to have, especially when you need cash in a hurry. In this article, we'll walk you through the step-by-step process of writing a check to yourself, along with some valuable tips and considerations.Why Write a Check to Yourself?
Before we dive into the process, let's discuss why you might need to write a check to yourself. There are several scenarios where this might be necessary: * You need to withdraw cash from your checking account and don't have a debit card or other digital payment method available. * You want to transfer funds between your checking and savings accounts. * You need to pay yourself some interest or dividends. * You want to create a payment record or audit trail for accounting purposes.Step-by-Step Instructions for Writing a Check to Yourself

1. Date the Check
The first step is to write the current date in the upper right-hand corner of the check. This date should match the date you intend to deposit or withdraw the money. 2.2. Write Your Name

3. Write the Check Amount
Write the amount you want to transfer or withdraw in both decimal and numeric form. For example, if you want to transfer $100, you would write it as "100.00." 4.4. Record the Check Number and Memo (Optional)
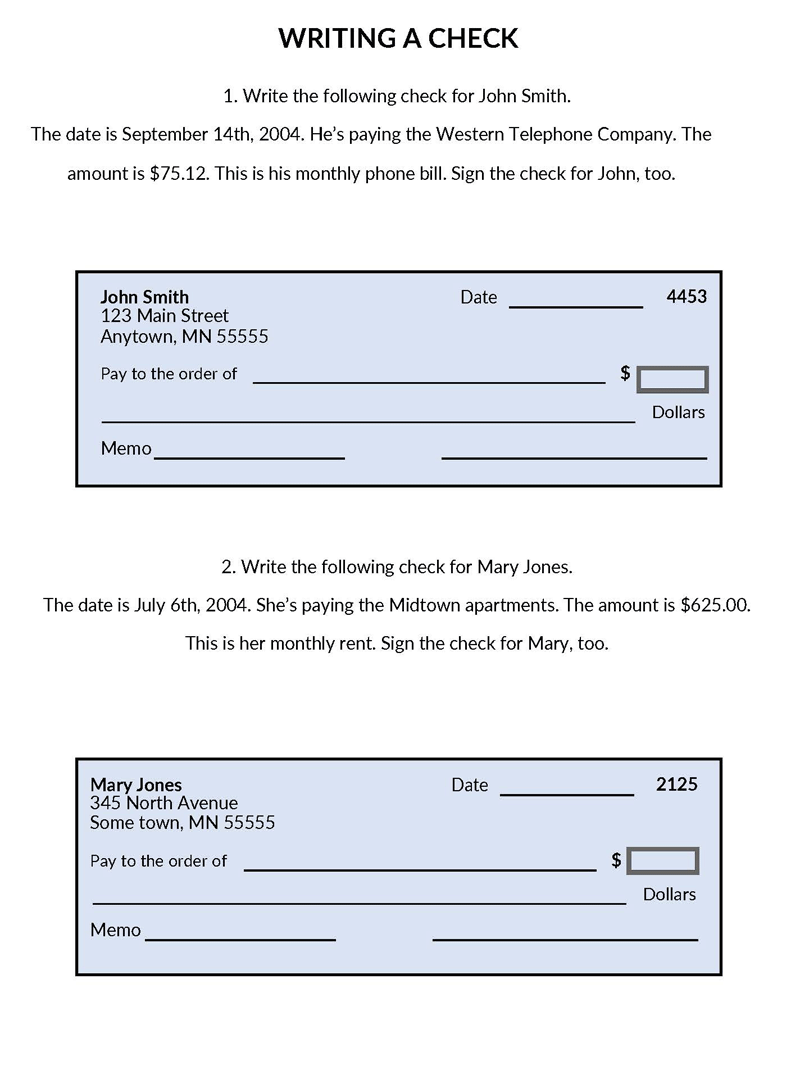
As we can see from the illustration, Writing A Check To Pay Yourself has many fascinating aspects to explore.
In the lower left corner of the check, you can include a check number and a memo line to describe the transaction. This is optional, but it can help you keep track of your finances. 5. On the back of the check, sign your name and include your account number, if necessary. This is essential to validate the check and ensure the transaction is processed correctly.

 - wikiHow")

")


:max_bytes(150000):strip_icc()/Can-I-Write-a-Check-to-Myself--e622f4fbd2f2478f95490e6e489faf29.jpg "Can You Write a Check to Yourself? - The Balance")


